Quickstart
This quickstart walks through the core ClipReplace workflow with the same order you will follow in the app: finish onboarding, create a profile, add rules, run replacement, and then try the secret and per-run input flows.
Introduction
ClipReplace is easiest to understand when you treat it as a copy-time post-processor. You prepare text with placeholders, copy it, run replacement, and then paste the ready-to-use result.
aws ssm start-session \
  --target {{BASTION_INSTANCE_ID}} \
  --profile {{AWS_PROFILE}} \
  --region {{REGION}}
If your rules provide values for those placeholders, ClipReplace can turn that snippet into a command that fits your own environment immediately after you copy it.
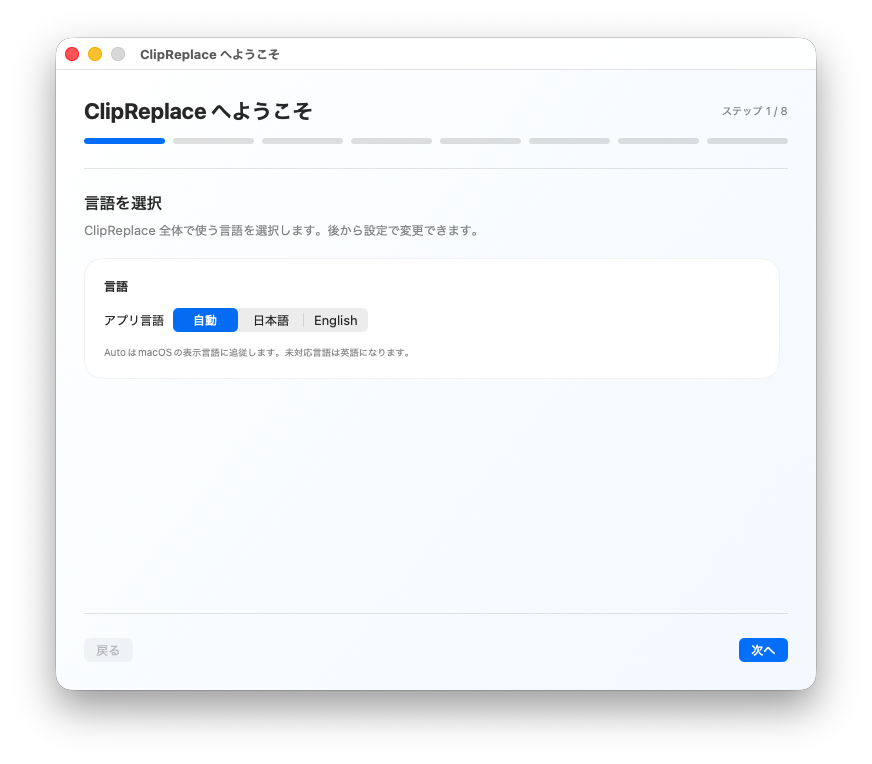
1. Initial setup
On first launch, review the onboarding screens and grant only the permissions that are required for the workflow you want to use.
- Choose the app language.
- Review the privacy policy.
- Read the brief usage explanation.
- Decide whether to enable the global shortcut.
- Decide whether to allow notifications.
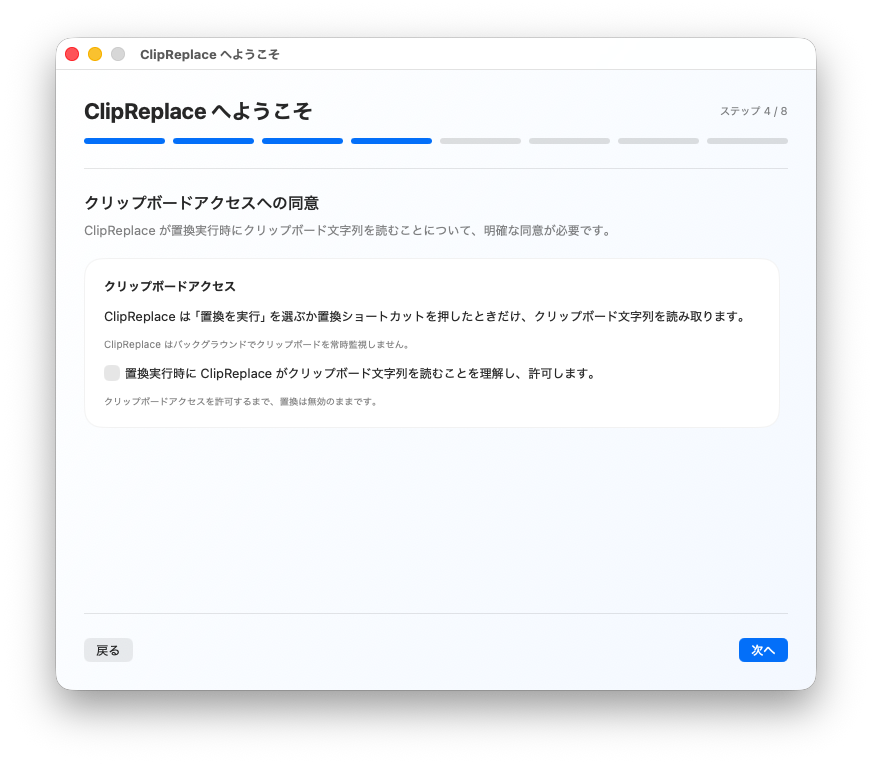
Clipboard access
ClipReplace reads the clipboard only when you explicitly run replacement from the menu bar or the global shortcut.
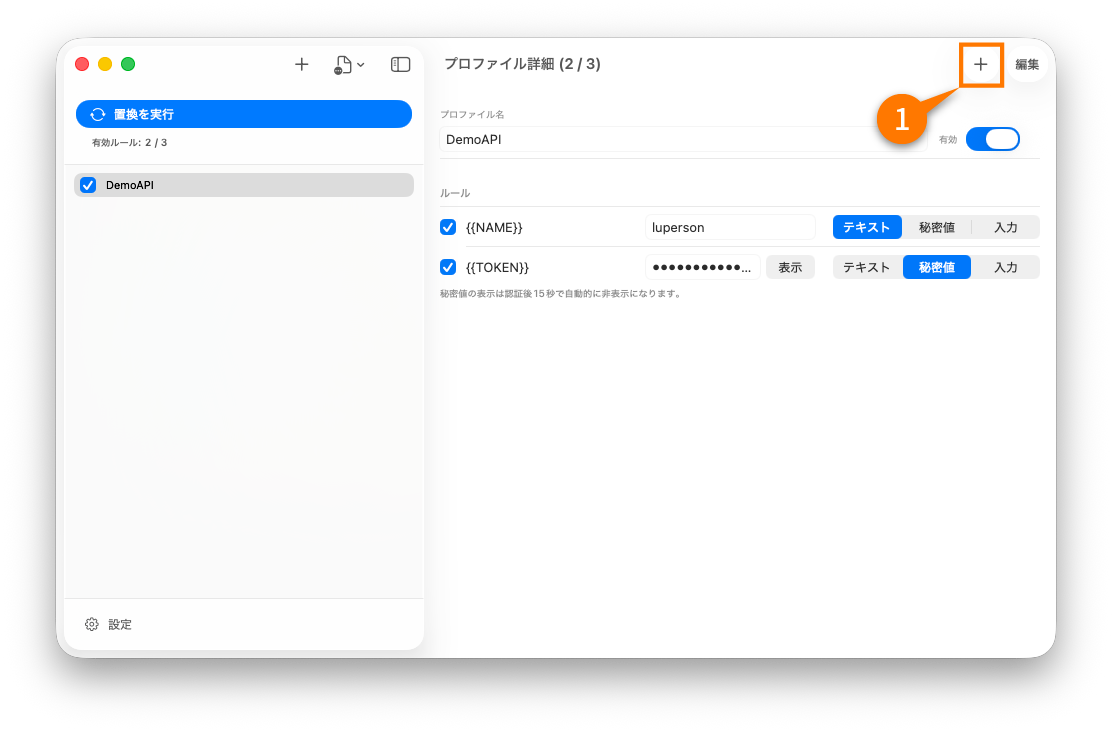
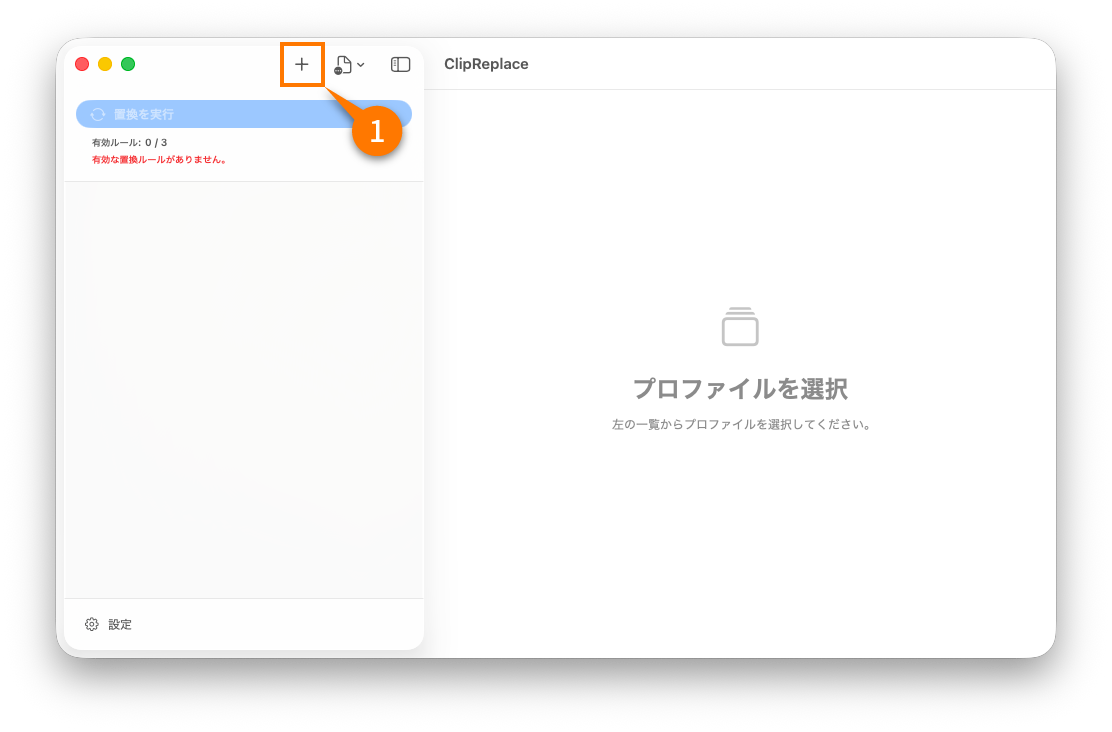
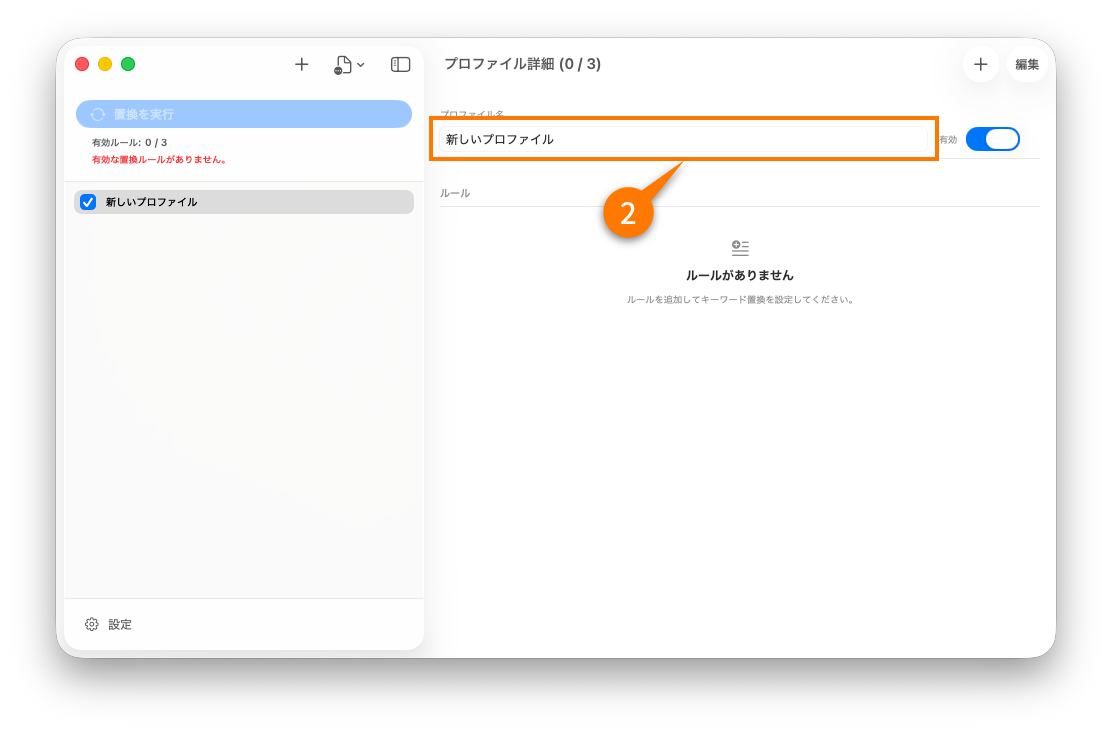
2. Create a profile
Profiles let you group rules by environment or purpose, such as personal, work, or staging.
- Open the profile list.
- Add a new profile.
- Give it a name that matches the context where the rules will be used.
- Keep it enabled if you want its rules to participate in replacement immediately.
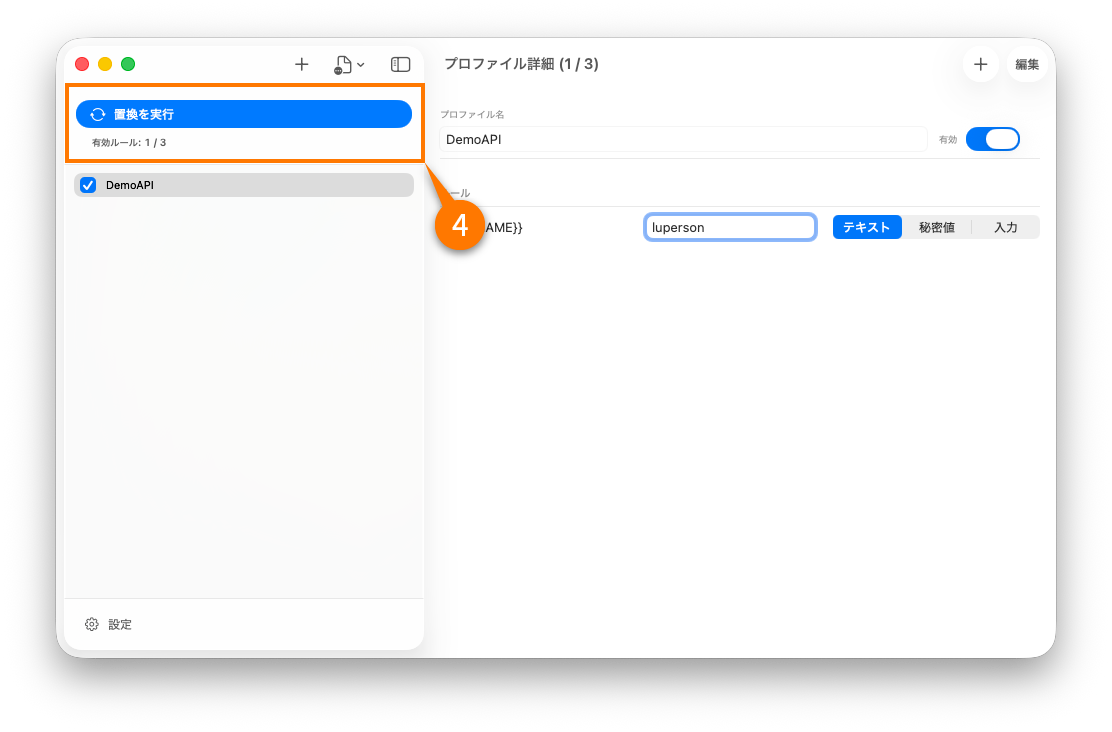
3. Replace plain-text values
Start with a normal text rule before trying secrets.
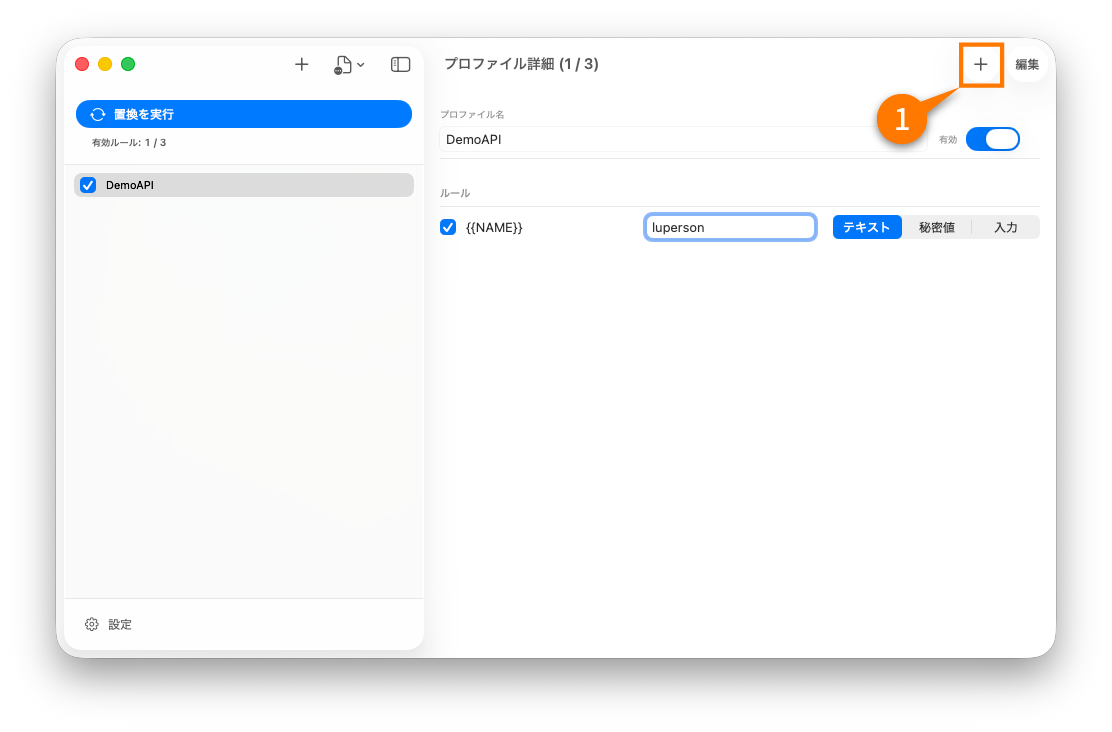
- Add a rule to the profile.
- Set the keyword, for example
{{AWS_PROFILE}}. - Set the replacement value, for example
dev-admin. - Repeat for the other placeholders used in your snippet.
- Copy a snippet that contains those keywords.
- Run replacement from the menu bar or the global shortcut.
- Paste the result into your terminal, editor, or chat tool.
Before:
kubectl config use-context {{CLUSTER_NAME}}

After:
kubectl config use-context my-team-dev

4. Use a secret value
Secret values are for tokens, passwords, and other sensitive items that should not live as plain text in your rules.
- Add a new rule or edit an existing one.
- Change the value type to a secret value.
- Store the secret through the app so it is handled through Keychain.
- Copy a snippet that contains the related keyword.
- Run replacement and complete the macOS authentication step when prompted.
After replacement, the result goes back to the clipboard and is cleared automatically after 90 seconds if it contains secret content.
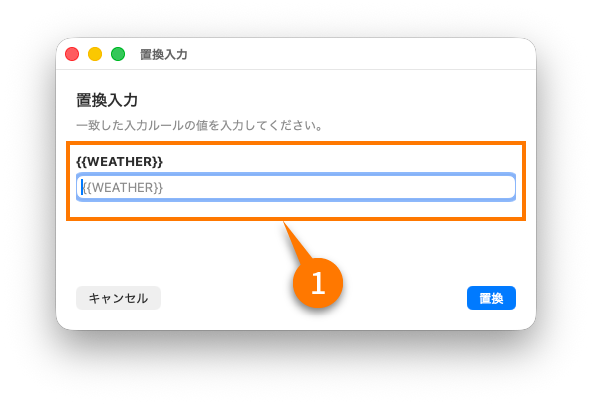
5. Enter values at replacement time
Some values should be entered each time instead of being stored at all.
- Set the rule value source to per-run input.
- Copy a snippet that contains the keyword.
- Run replacement.
- Enter the requested value in the prompt window.
- Paste the result.
This is useful for MFA codes, temporary IDs, and values that change every time you run the command.